When I wrote this post I was in the process of moving my Sewing Studio from a large closet in my second floor bedroom to a basement storage room. It is much larger than the closet and a welcome change. However, the whole closet thing really worked out well in hindsight. If I ever have to change up again, I already have the plan. I had an over-the-door ironing board that needed to be dressed up so I got started on this little project. By its popularity rating I suspect that most of us are doing similar projects in our space and always looking for ideas.
Wednesday, February 1, 2012
The Board, The Keeper and the Pincushion-Part 1
This nice little over-the-door ironing board folds up against the door as a space saver. The board is shorter than standard but just right for pressing while sewing, or the occasional garment touch up. My plan is to recover the board, the old cover had long since gone to its reward. I need a little "keeper" connected to the cover to hold water for the iron and some spray starch. I also need a pin cushion connected to the board as well for obvious reasons.

I think I bought this at the "Minnesota Fabrics" store that lived at a local strip mall until the mid-nineties. It was a great loss for me because it was so convenient, however, during its last few years of operation the fabric never moved, they didn't get anything new in stock and it progressively went down hill. I felt sorry for the ladies who worked there. They were sewers, they loved their jobs, but sewing in general was in decline in this area. Anyway, I thought this was nice because of its theme and the colors were happy! I have just enough to make my cover, keeper, and cushion.
The Pincushion:

On the wrong side of the fabric I traced an 8 1/2 plate with a pen. It doesn't matter what you use because it will be covered, as long as there is no bleed through.

The traced circle, cut out on the drawn line.

The supplies:
the fabric circle,
hand quilting thread, with needle
dmc embroidery floss
little floral topper cut from scrap ultrasuede
glue

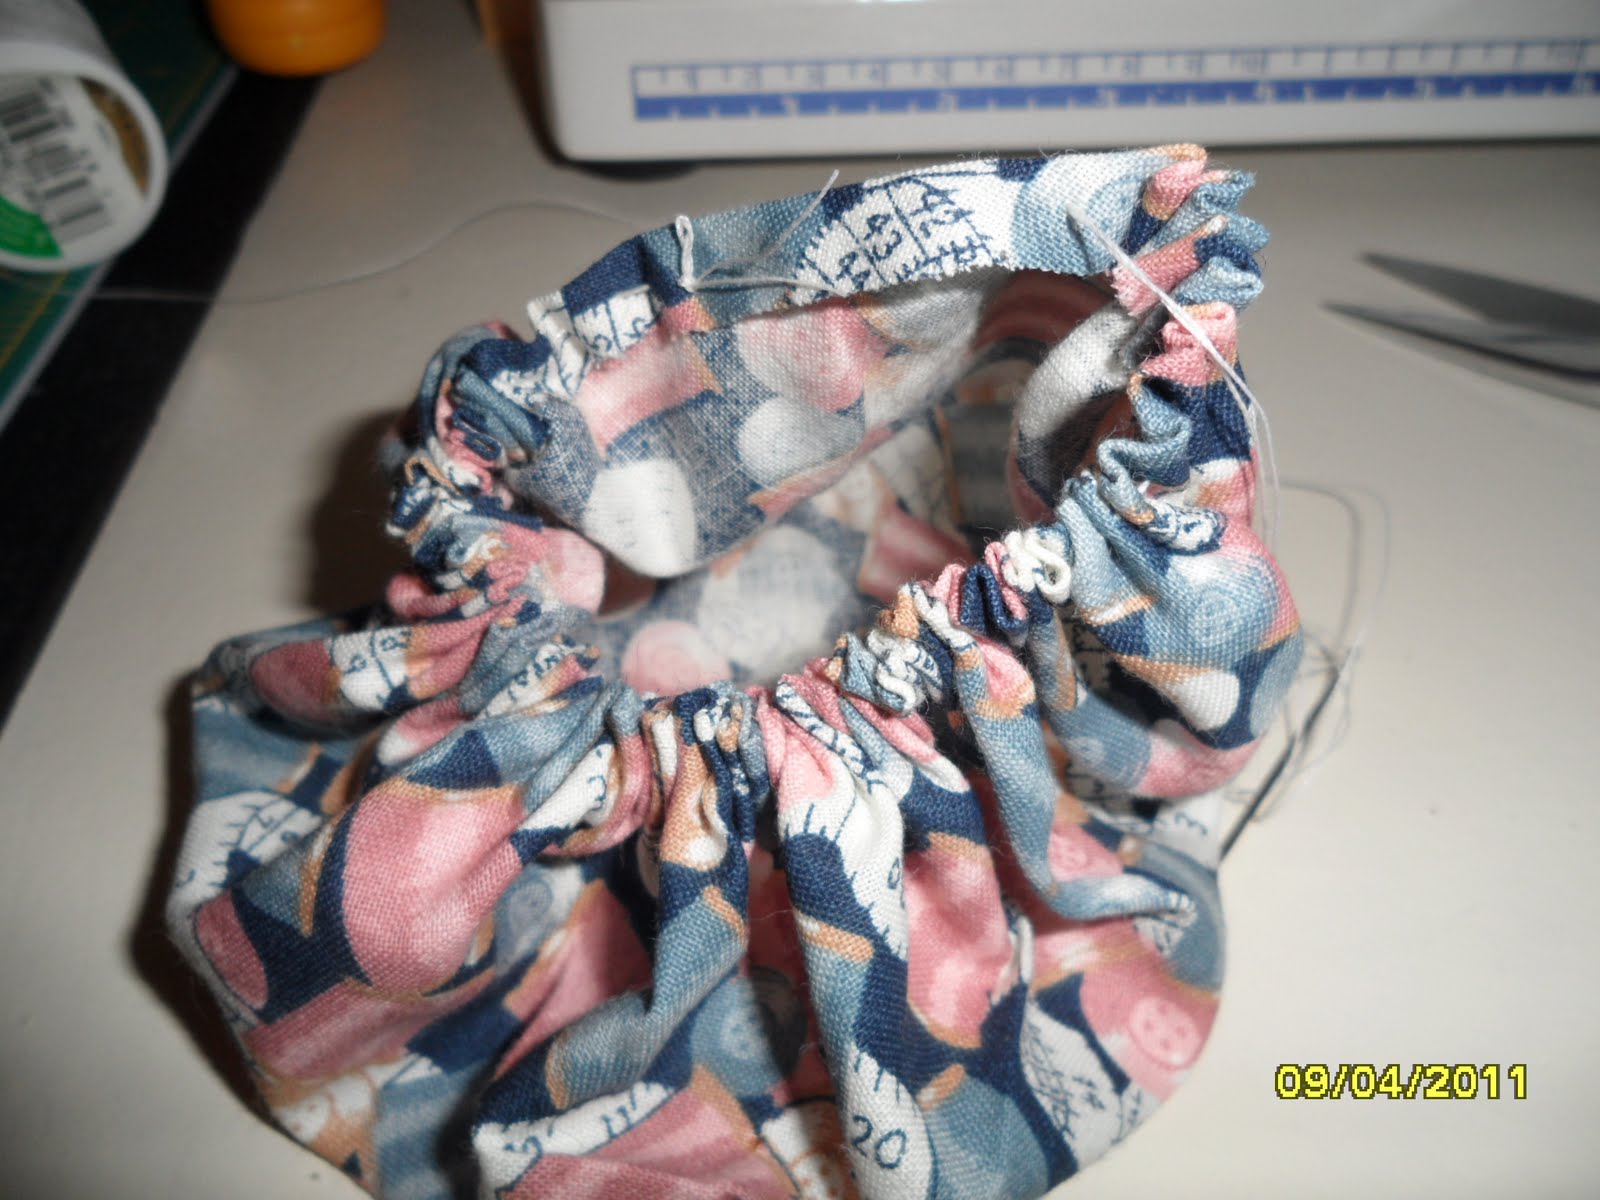
Next, turn the edges over on the circle, about 1/4 inch, just like making a yo-yo and gather up the edge. I pull the thread regularly to gather as I go, I break thread less this way. Leave about two inches of the edge un-gathered but do not tie off the thread, leave it hang there.
Stuff with the shredded quilt batting, then use fiberfill to round out the edges. Poor Bertie, she is going to need a re-do for sure. After stuffing, pull the gathers as snugly as possible, knot and tie off.


 |
| All done, dressed with the same plastic head pins that I found stuck in the fabric. I have no idea what my original plan was for this fabric, it looked like a pinned up hem. Since this will be used on an ironing board, the plastic pins will go to another cushion because I only use glass head pins near the iron. I have melted one or two plastic ones and it was not a nice experience. |
Gratuity Moment: an old idea, transported, still a good idea
Comments